Have you ever daydreamed about having long, luscious locks or adding volume to your hair without a permanent change? Clip in hair extensions can be your best friend. For those new to the concept, they might seem daunting, but learning how to apply clip in hair extensions like a pro is easier than you think. The trick lies in mastering a few simple techniques to ensure they blend seamlessly. Clip in hair extensions offer a temporary yet stunning solution for any hairstyling enthusiast looking to elevate their look effortlessly.
Choosing the Right Extensions
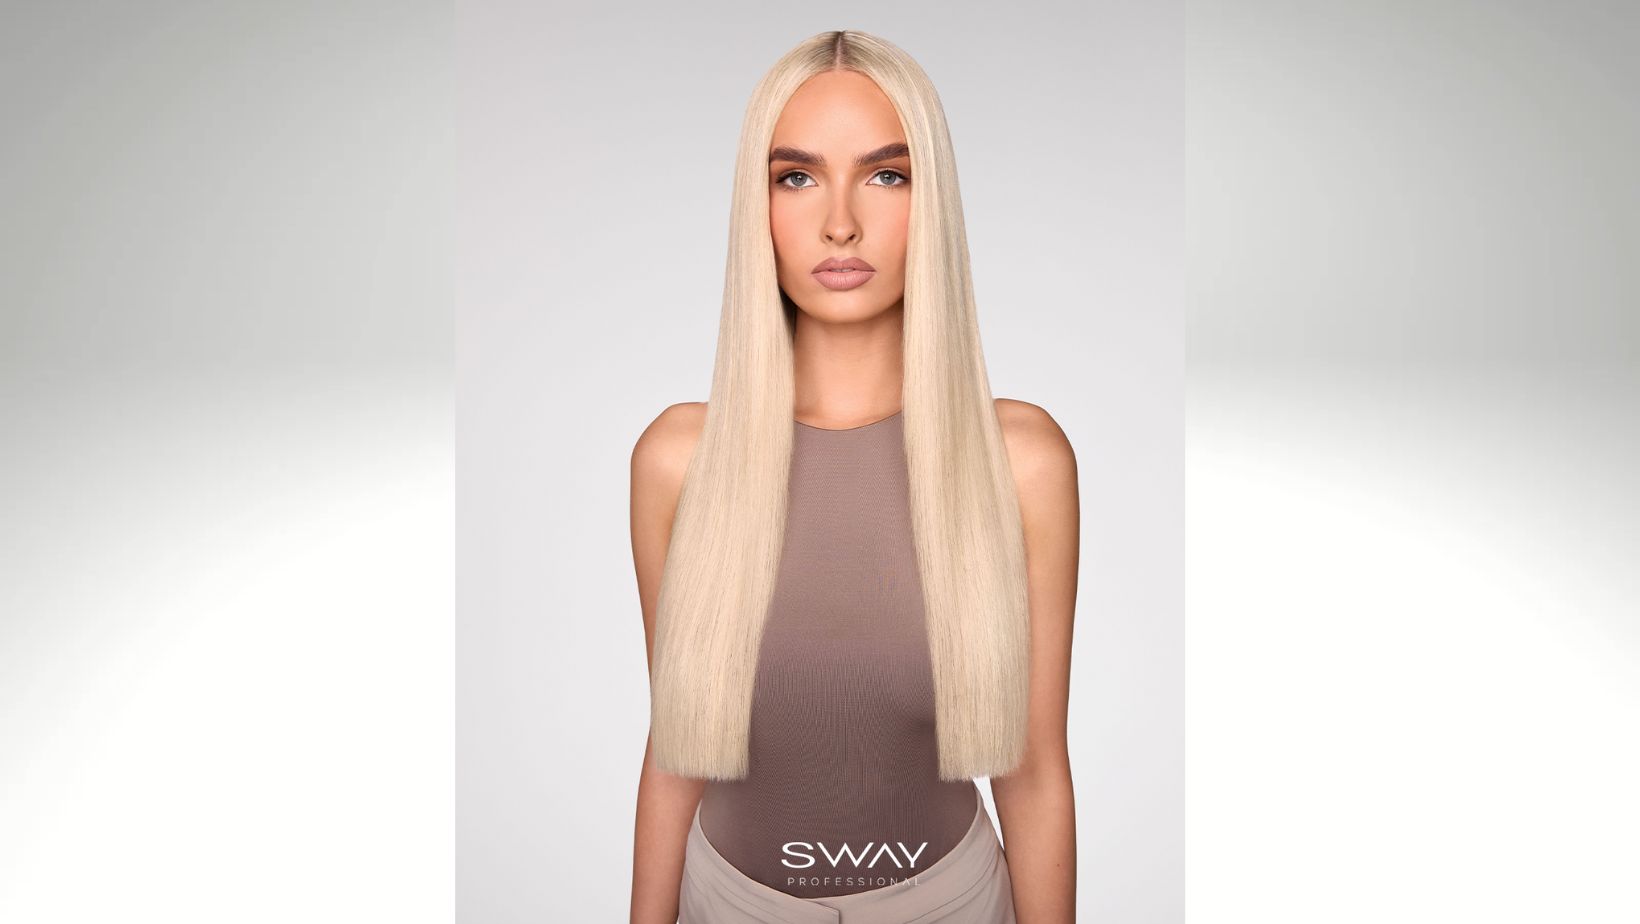
Selecting the appropriate type and shade of extensions is crucial. Ensure the extensions match not just the color but also the texture of your natural hair. Most clip in hair extensions are made from either synthetic materials or human hair, with the latter providing a more natural appearance and the ability to style using heat tools. Determining the length and volume you desire in advance will also guide your choice effectively.
Preparing Your Hair
The first step before applying your extensions is to prepare your own hair. Start with clean, dry hair, as this allows for a better grip on the clips. Using a fine-tooth comb, gently tease sections of your hair near the roots where you plan to attach the extensions.

This creates a slightly more textured surface for the clips to hold onto, ensuring they stay secure throughout the day.
Sectioning Your Hair
Proper sectioning is the key to a natural look. Begin by parting your hair horizontally from one ear to the other, starting from the nape of your neck and securing the top half with a clip. Working in layers, gradually move up the head, releasing sections of hair to cover the clips of each row of extensions. Consistency in the thickness of each layer is paramount for an even distribution and to avoid any awkward bumps.
Attaching the Extensions
With your hair sectioned, start with the larger wefts at the back of the head, as this area provides a natural base and more room to work with. Open the clips and snap them onto the teased roots of your hair. Followed by attaching the side pieces, ensuring everything remains even and symmetrical. A common mistake is overcrowding a single area—remember that less is more when it comes to achieving a seamless look.
Blending for a Natural Look
After attaching all pieces, it’s important to blend the extensions with your natural hair. Use a straightener or curling iron to create uniform waves or curls for a cohesive appearance. Finish by brushing through your hair to ensure that no weft is visible.

A light mist of hairspray can help hold the style in place and smooth out any frizz.
Maintaining Your Extensions
Proper maintenance of your extensions is essential for prolonging their life. Wash them sparingly with a mild shampoo and allow them to air dry naturally. Store them neatly when not in use to avoid tangling and invest in a quality hairbrush designed for extensions. Regular maintenance ensures that your extensions stay in top condition, and you’re always ready to rock that fabulous look. For those looking to enhance hair health and appearance, exploring options from HappyHead can complement your extension routine.
In conclusion, applying clip in hair extensions like a pro is all about practice and preparation. By following these steps and choosing high-quality products, you can achieve a flawless, natural-looking finish that enhances your beauty. With patience and care, mastering this skill will open up a world of styling possibilities, allowing you to switch up your look with ease and confidence.