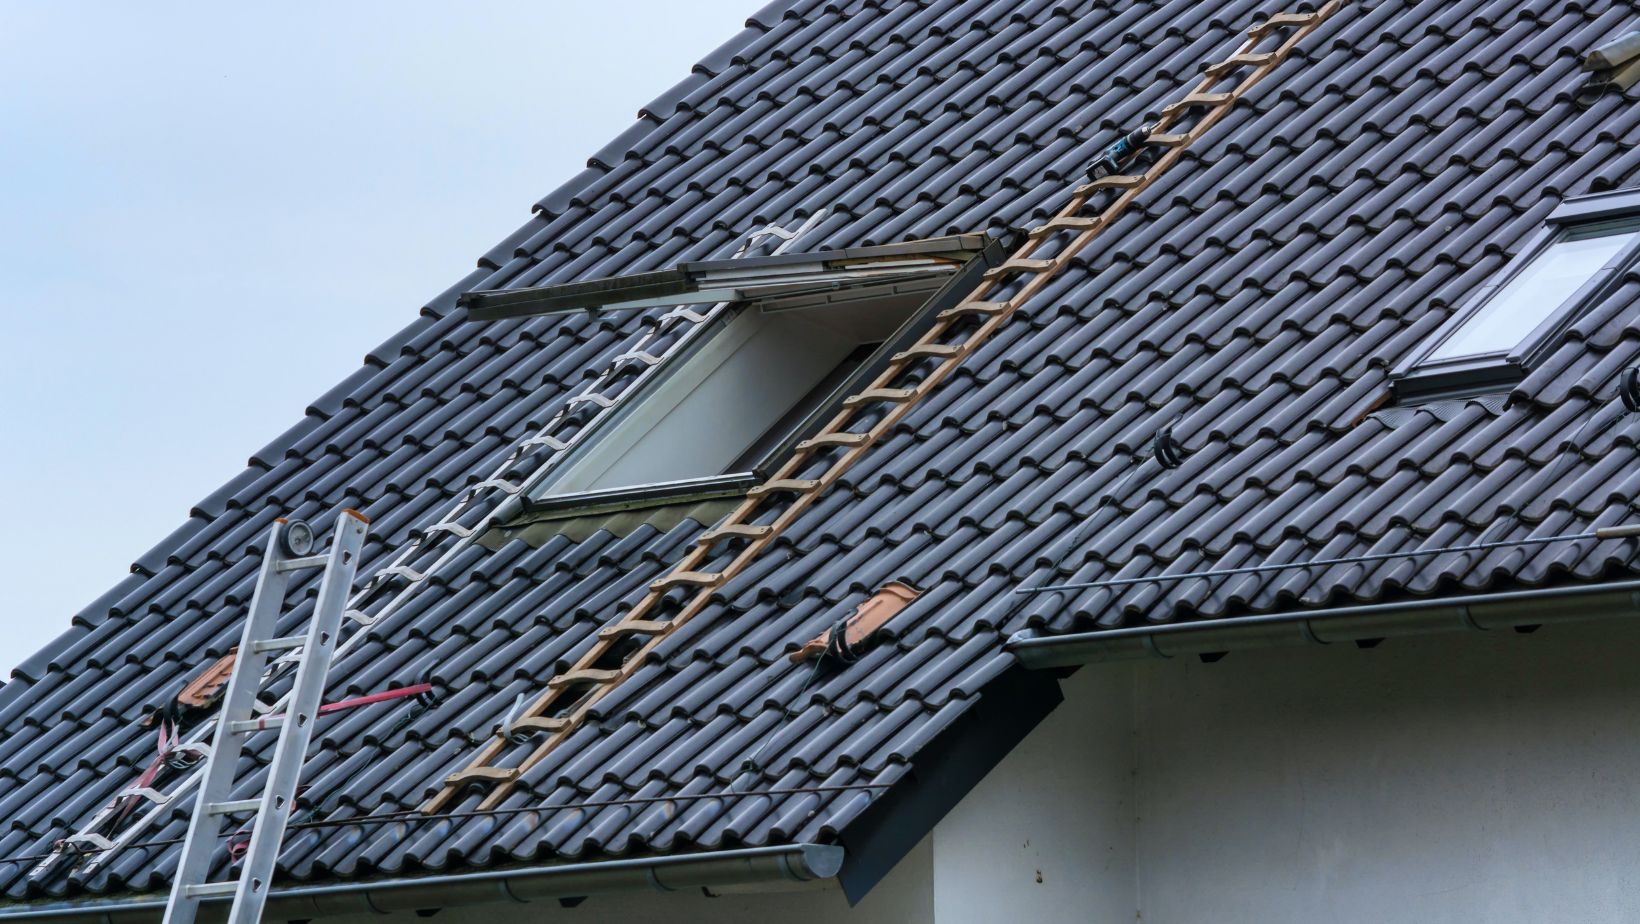
Repairing flashing on dormers and roof slope junctions is a crucial task that ensures your roof remains watertight and your home stays protected from moisture damage. Flashing serves as a barrier, preventing water from seeping into vulnerable seams and joints where different roof sections meet. Over time, exposure to harsh weather, temperature fluctuations, and normal wear can cause flashing to deteriorate, leading to leaks and structural issues if left unattended. We will explore a detailed approach to identifying problems, preparing the area, and applying the right repair techniques to restore the flashing’s protective function and extend the life of your roof.
Step-by-Step Guide to Repairing Dormer and Roof Slope Flashing
- Inspect and Identify the Damage
Before starting any repair work, roofing specialists in Kansas City recommend carefully examining the flashing where the dormer meets the roof slope. Look for cracks, corrosion, lifted edges, or gaps between the flashing and the roofing materials. Sometimes damage isn’t visible from a distance, so use a ladder and inspect closely. If there are water stains or soft spots inside your attic near the dormer area, that’s a sign that water has already penetrated.
Pay special attention to areas where shingles overlap the flashing, as debris buildup can trap moisture. During the inspection, also check the surrounding shingles or roofing materials for damage, since flashing repairs are most effective when the adjoining surfaces are intact. Documenting the damage with photos can help you assess the extent of the problem and gather the right repair materials. This thorough examination ensures you address all problem areas rather than just the most obvious ones.
- Remove Damaged Flashing and Prepare the Area
Once you have identified problem spots, carefully remove the damaged flashing. Use a pry bar to lift the shingles just enough to slide out the old flashing without causing additional harm to the roofing material. If roofing nails are securing the flashing, remove them gently to avoid tearing the surrounding shingles or underlayment. After removal, clean the area thoroughly by clearing away debris, old sealant, and dirt. This step is critical because any residual material can prevent new flashing from sealing properly. Also, check the underlying roof deck for rot or water damage, and replace any compromised wood before installing the new flashing. Smooth and clean surfaces allow for better adhesion of sealants and ensure the new flashing sits flat against the roof and dormer, creating a secure barrier. Skipping preparation can lead to premature failure of the repair.
- Measure and Cut New Flashing
Proper measurement is key to a secure and watertight fit. Use the old flashing as a template, or measure directly along the dormer and roof slope junction to get precise dimensions. Flashing should extend at least a few inches under the shingles above and over the shingles below the junction to ensure proper water runoff. Mark your measurements clearly on the new metal flashing material, which can be aluminum, galvanized steel, or copper, depending on your roof type and climate. Using tin snips, cut the flashing to size, ensuring smooth edges to prevent future wear on roofing materials. For complex dormer angles, consider bending the flashing with a hand seamer to conform to the roof’s shape. Correct sizing and shaping reduce the risk of gaps or lifted edges where water can sneak in during heavy rain or snow.
- Install the New Flashing
Slide the new flashing under the shingles above the junction and over the shingles below, positioning it so that water naturally flows over the metal and away from the roof. Secure the flashing in place with roofing nails, driving them into the roof deck and not just the shingles to ensure stability. Avoid over-nailing, as this can deform the flashing and create small gaps. Once secured, lift the shingles gently to check that the flashing lies flat without buckles or raised areas. In dormer junctions, step flashing may be used, where each shingle row overlaps a small piece of flashing, creating a layered shield against water. This method is especially effective at directing runoff down the roof slope without pooling. Installation precision directly affects the longevity and performance of the flashing repair.
- Seal and Waterproof the Repair
After installation, apply roofing sealant or caulk along the edges and nail heads of the flashing to create an additional moisture barrier. Use a high-quality, weather-resistant sealant designed for roofing applications, as it will withstand temperature changes and UV exposure. Smooth the sealant with a putty knife to ensure full coverage and prevent gaps where water could seep through. Pay close attention to the top edge where the flashing meets the dormer wall; a continuous bead of sealant here prevents water from flowing behind the metal. Allow the sealant to cure according to the manufacturer’s instructions before exposing it to heavy rain. This sealing step is your final defense against leaks and ensures the repair lasts through multiple seasons. Periodic reapplication of sealant during roof maintenance can extend the flashing’s service life and prevent future costly repairs.
Repairing flashing on dormers and roof slope junctions is a detailed process that combines careful inspection, precise measurements, and proper installation to keep your home protected from water infiltration. Neglecting these areas can result in leaks, wood rot, and significant structural damage, but timely repairs ensure that your roof remains durable and functional. By identifying damage early, preparing the area thoroughly, fitting new flashing correctly, and sealing it effectively, you create a strong line of defense against the elements. Regular roof maintenance, including periodic flashing checks, helps prevent issues before they escalate, saving both time and money. With consistent attention and proper repair techniques, you can maintain the integrity of your roof and protect the comfort and value of your home for years to come.


