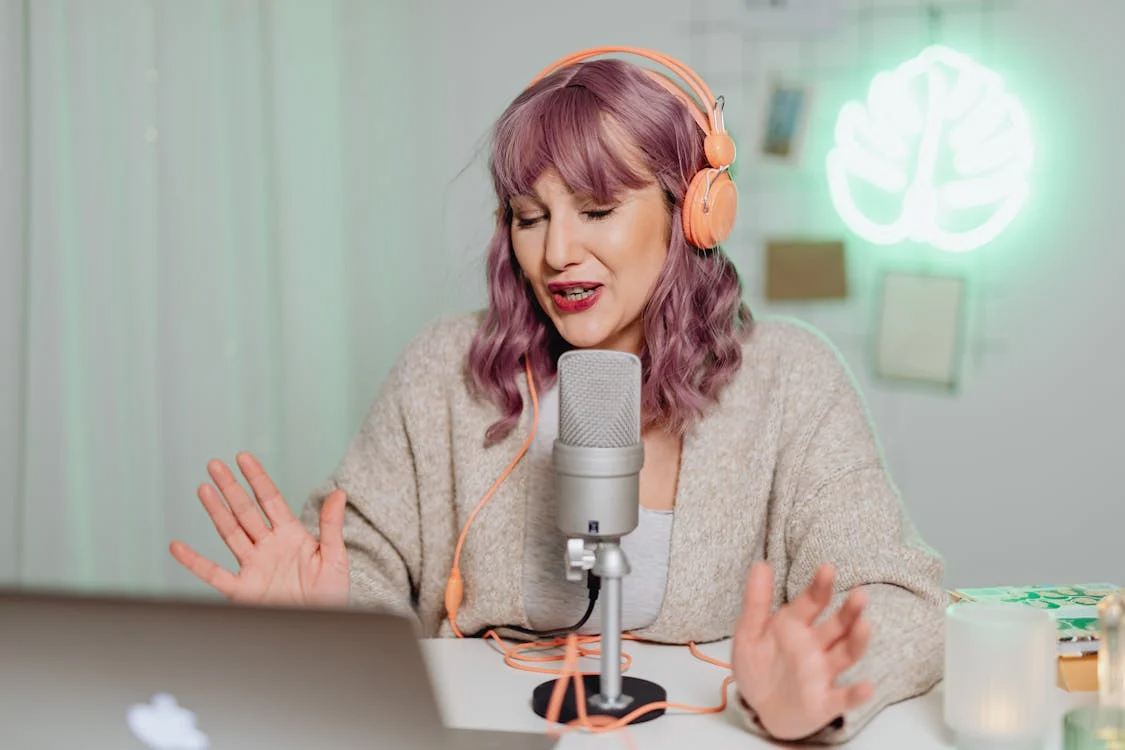
Video podcasting has grown fast in the past few years. More creators, entrepreneurs, and educators are recording from home and sharing content across platforms like YouTube, Spotify, and Apple Podcasts. While audio quality is still important, video now plays a bigger role in keeping viewers engaged and coming back.
Recording from home gives you flexibility, but it also brings challenges. Lighting might be uneven, backgrounds can be distracting, and the gear you choose has a direct effect on how professional your content looks. The good news is you don’t need a big studio to improve your setup.
With a few smart changes, you can upgrade your video quality and create a setup that works for your space, style, and budget. Let’s start with one of the most important tools—lighting.
Start with the Right Lighting Setup
Lighting makes a bigger impact on video quality than most people realize. You might have a good camera, but without proper lighting, your footage can look flat, grainy, or shadow-heavy. Good lighting brings clarity, color balance, and depth to your frame.
Natural light is helpful, but it’s not always consistent. The sun changes position, weather affects brightness, and windows don’t work well at night. That’s why it’s worth adding a lighting setup you can control.
Something that works well for creators are HomeStream lighting solutions by Ikan. These lights are designed for small studio setups and home creators who want better control over their environment. They’re compact, adjustable, and built with podcasting in mind. With front-facing lighting, you can brighten your face evenly, avoid harsh shadows, and make the whole video look more polished.
Even if you’re working in a small room or apartment, having one or two adjustable lights can dramatically change your video. You’ll notice the difference right away—and so will your viewers.
Choose a Camera That Fits Your Format
The camera you use doesn’t need to be expensive, but it should be reliable. Most beginners think they need a DSLR or mirrorless camera to look professional, but that’s not always the case. A modern webcam or smartphone can produce solid results if used with good lighting.
Look for a camera that can shoot in at least 1080p HD. Some smartphones already support this. If you do use a phone, place it on a tripod and use the rear camera when possible for better image quality.
Webcams are another simple option. Some come with wide-angle lenses or automatic light adjustments. They’re easy to connect to a laptop and work well with video conferencing software or recording apps.
If you plan to invest in a higher-end camera later, consider how it connects to your setup. You might need a capture card or HDMI adapter to link it to your computer. Keep your camera at eye level and frame the shot to show your head and shoulders with a little space above.
Prioritize Audio Quality
While video matters, people still tune out if the audio sounds bad. Clear, steady sound helps your audience stay focused on what you’re saying. You don’t need a full studio setup, but investing in a good microphone is worth it.
For home use, dynamic microphones are a solid choice. They pick up your voice well and block out background noise like fans or traffic. USB mics are easy to connect and use right away. If you plan to upgrade later, XLR mics offer better sound but need an interface or mixer.
Adding a pop filter can help reduce harsh “p” and “s” sounds. A mic stand or boom arm keeps your mic in place and away from desk bumps or vibrations. Foam panels or blankets on nearby walls can help control echo, especially in rooms with hard surfaces.
Record a few test clips to hear how your space sounds. Small adjustments like mic placement or turning off appliances in the background can make a big difference.
Keep Your Background Simple and Distraction-Free
Your background says a lot about your show. A clean, consistent space helps keep the focus on you. Try filming in a quiet corner with a neutral wall, soft lighting, and minimal clutter.
Avoid sitting in front of bright windows or busy patterns. Natural light behind you can throw off your camera exposure and cast shadows across your face. Solid colors or soft textures tend to look best on screen.
You don’t need to film in a blank space. A shelf with books, plants, or a small piece of art can add interest without being distracting. If you want to add some branding, a subtle logo or sign behind you works well.
Consider using a second light on the background to add depth. It can help separate you from the wall and make your video look more polished without extra gear.
Use Editing to Clean Up and Brand Your Content
Editing doesn’t have to be complex. A few basic cuts can make your podcast feel smoother and more polished. Trim out long pauses, background noise, or repeated phrases. Keep the flow moving without losing your natural tone.
Software like Adobe Premiere Rush, DaVinci Resolve, or iMovie are great for beginners. They let you adjust brightness, add titles, and export in the right format for your platform.
Adding a short intro or outro with music and visuals helps create a consistent identity for your podcast. Include your name, logo, or social media handles so viewers know where to follow you.
Keep the edits simple. Let your voice and message stay front and center. The goal is to support your content, not distract from it.
You don’t need a studio or a big budget to record high-quality video podcasts at home. Smart lighting, a reliable microphone, a clean background, and basic editing tools can take your content to the next level. With a little planning and the right setup, your home can become the perfect space to share your message and grow your audience.