Transporting your gaming setup when moving to a new location requires careful planning and attention to detail to ensure that all components arrive safely and in working order. Here’s a step-by-step guide on how to securely pack and transport your gaming setup:
1. Preparation and Inventory
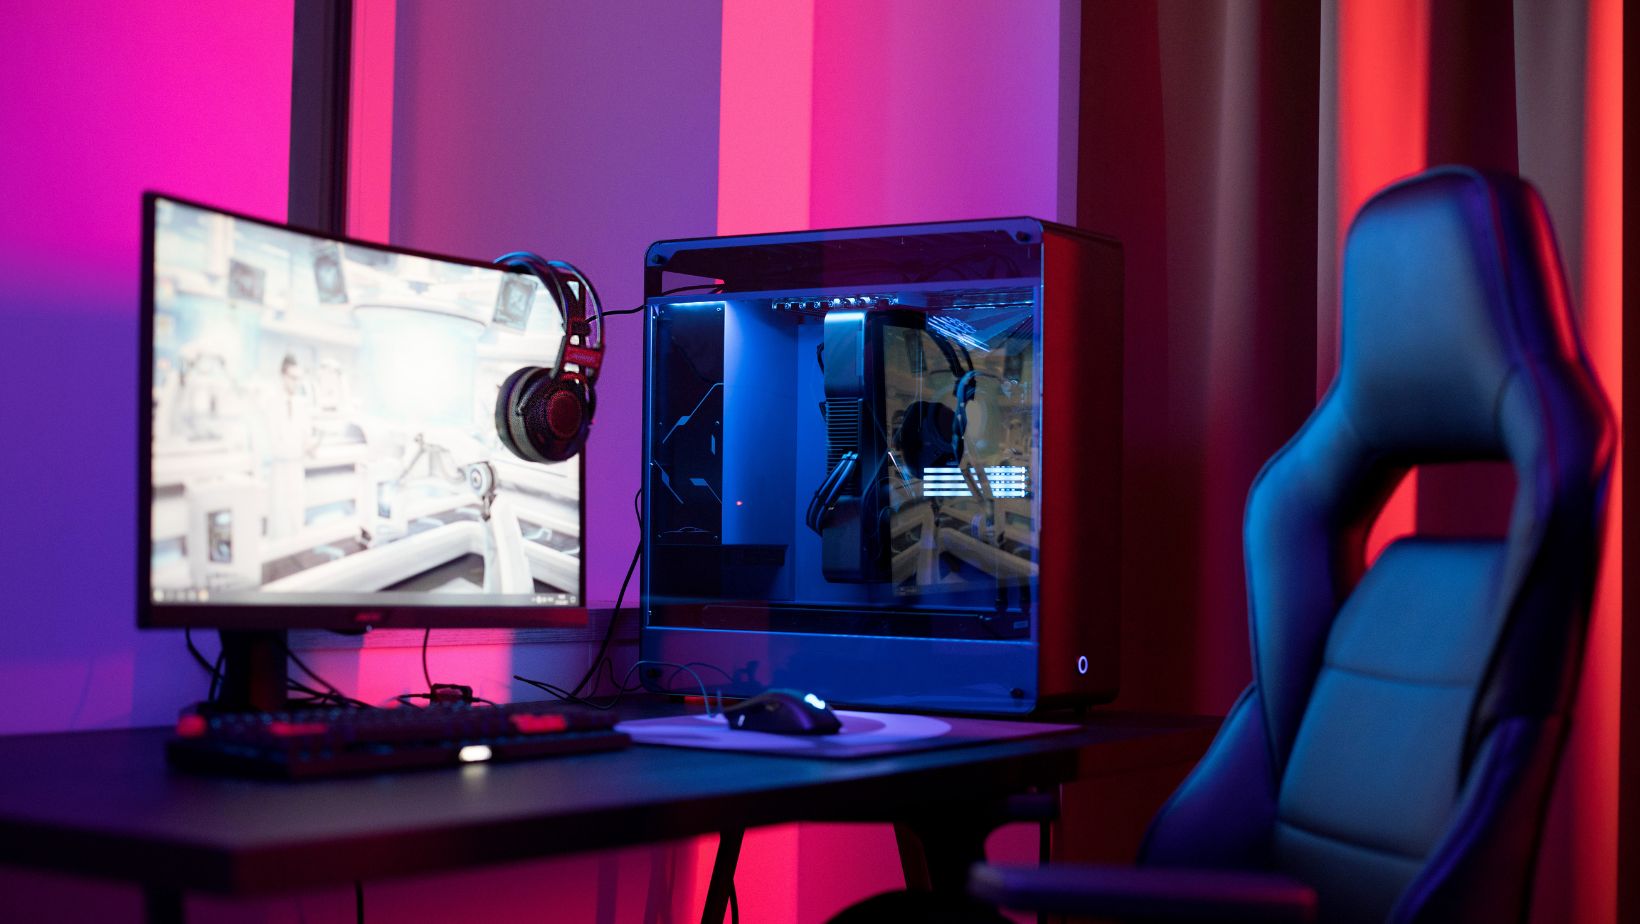
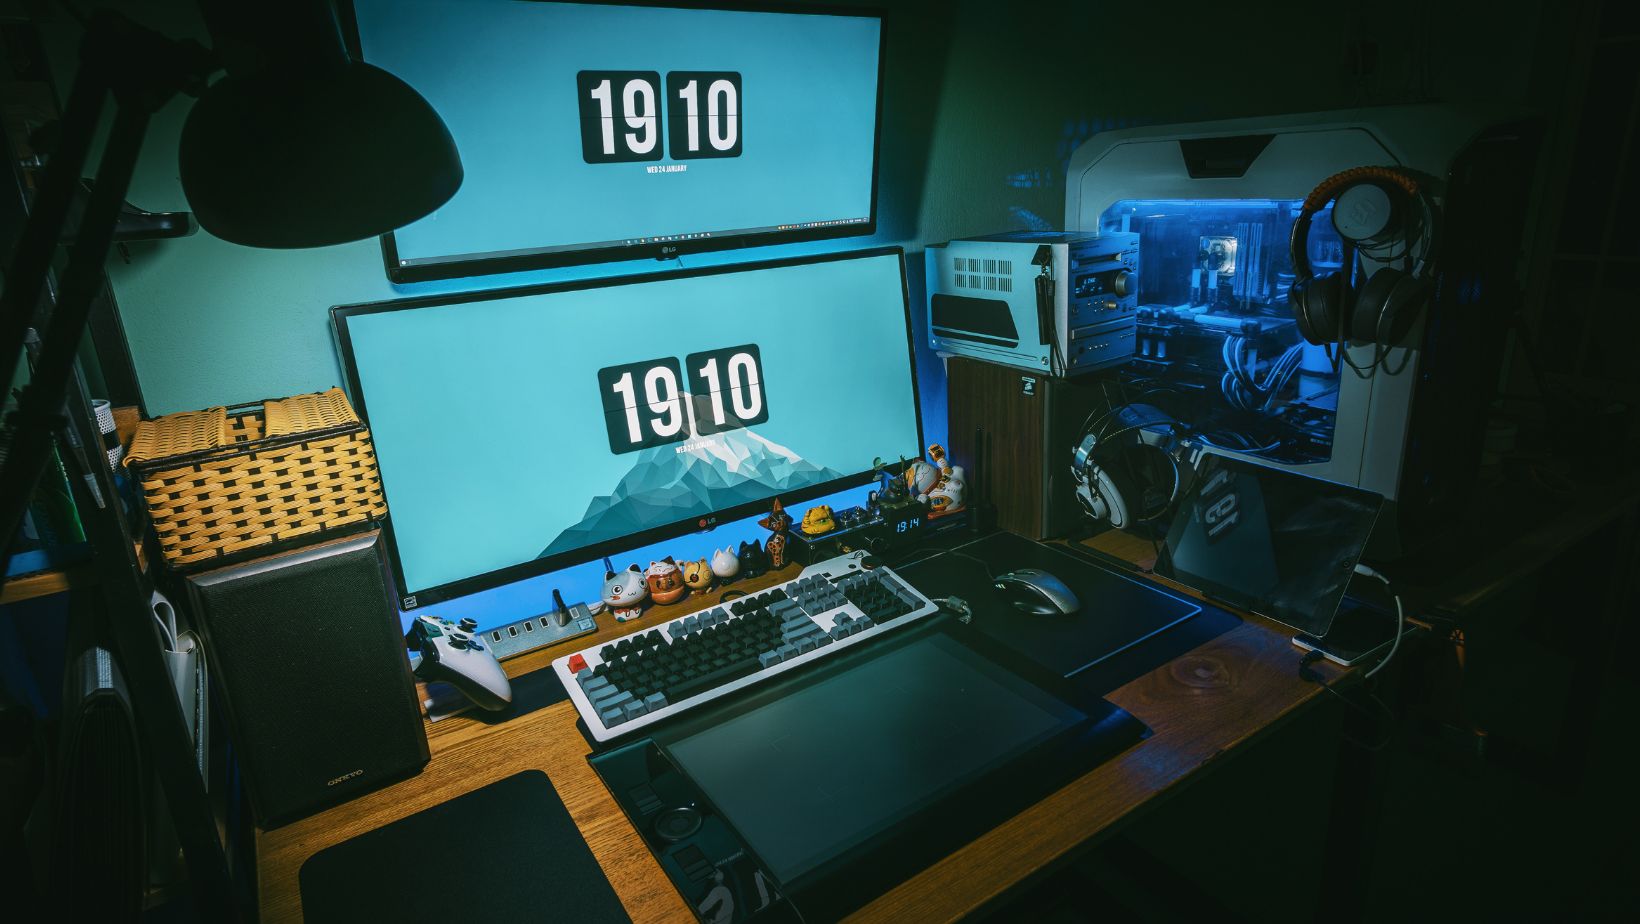
Start by taking an inventory of all your gaming equipment. This includes your computer or console, monitors, keyboards, mice, headphones, and any other peripherals. Documenting everything with photos can be helpful, especially for insurance purposes and to remember how everything was set up.
2. Backing Up Data
Before you begin disassembling your setup, make sure all your data is backed up. This could be through cloud storage or an external hard drive. Games, save files, and configurations should be secured, as hardware can sometimes suffer from unforeseen issues during transport.
3. Cleaning and Organizing
Dust and clean all components before packing them. Dust can be a major issue for electronics, and transporting them while they’re clean reduces the risk of overheating and other problems when you set them up again.
4. Disassembling
Carefully disassemble your setup. Remove all cables, detach monitors from their stands, and if necessary, take out any components that might come loose inside your PC case, like graphics cards and hard drives.
Keep screws and small parts in labeled bags and take photos if you think you might forget how to reassemble any parts.
5. Packing Materials
Invest in high-quality packing materials. Anti-static bubble wrap, foam padding, and sturdy boxes are essential. For particularly fragile items like monitors, consider using their original packaging, which is designed to protect them during shipment.
6. Packing Your Computer
If you’re transporting a desktop computer, focus on providing extra protection for your tower. Use anti-static bags for individual components if you’ve removed them. Fill any gaps inside the tower with anti-static bubble wrap or foam to prevent parts from moving. Seal the tower in a box with ample padding on all sides.
7. Packing Peripherals
Wrap keyboards, mice, headphones, and other peripherals individually. Place them in a box with sufficient cushioning material to prevent damage from shocks and bumps. For monitors, cover the screen with a layer of foam or bubble wrap, and ensure that the box is marked as fragile.
8. Loading and Transporting
When loading your gaming equipment into a moving vehicle, place heavier items like your PC tower at the bottom and ensure that nothing heavy can topple onto fragile items like monitors. If possible, keep the most sensitive items with you in your vehicle so you can control the environment and handle them.
It can be more straightforward to work with a professional company that’s used to handling such sensitive items—have a look at websites like www.shiply.com to find a company that has the expertise you need.
If there’s a delay in moving into your new place or you simply want to avoid cluttering your space with boxes, consider using a secure storage solution that keeps electronics safe and accessible. These facilities are ideal for temporarily holding gaming setups, especially when you need a clean, dry, and controlled environment to prevent dust buildup or temperature-related damage.
9. Unpacking and Setup
Once at your new location, carefully unpack and reassemble your setup. Check all components for any signs of damage before turning them on. Reconnect everything according to the photos and setup notes you made during disassembly.
10. System Check
Finally, perform a system check to ensure everything is working correctly. Update your software and drivers if necessary, and verify that all hardware is functioning as expected.
By taking these steps, you can ensure that your gaming setup is transported safely and is ready to go to your new home. Good planning and careful packing are key to making your move as smooth as possible.